From previous research that has been completed, having a more in-depth knowledge and understanding of the ukulele and it's properties is essential for this next process to be completed. It will allow construction to be organised and flow smoothly.
Concept designs


Elements within Neck and Fretboard solution generation
Solution 1:
As stated in the headstock page, the head and neck were joined with a wedge join. Using the same table saw jig was critical in keeping the angle uniform. If the angles were off on either part, the neck wouldn't have been able to attach correctly and may have lead to breakage.
As stated in the headstock page, the head and neck were joined with a wedge join. Using the same table saw jig was critical in keeping the angle uniform. If the angles were off on either part, the neck wouldn't have been able to attach correctly and may have lead to breakage.

Image 79: (Turner, 2016)
The above image is captured to show the joining of the two elements.
Solution 2:
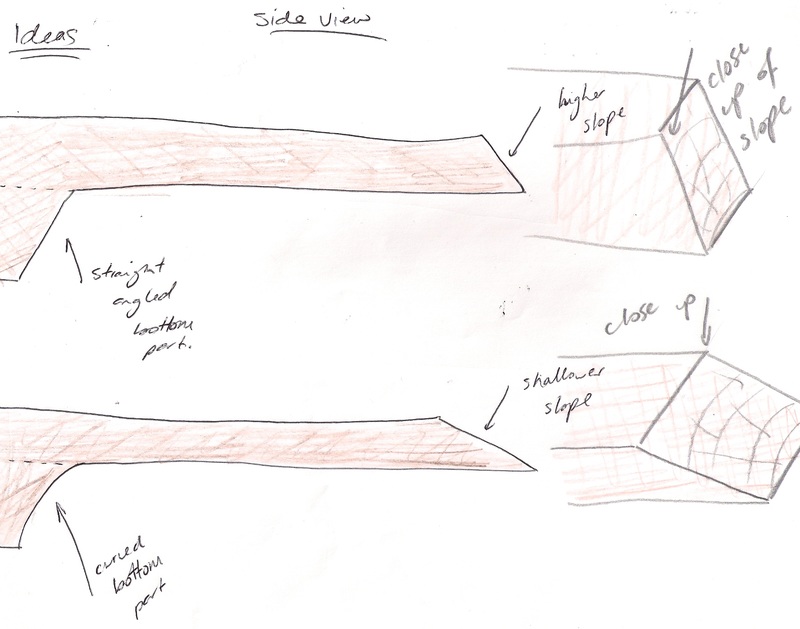
To gain the required visual effect of having a flowing neck to continue onto the body was always desired. For this reason, the end curved piece of neck was rotated 90 degree to gain that continuing one piece appearance. By incorporating this design feature, there was a strong need to be very delicate with the planing down process, due to the differing grain direction.
To shape down the neck, both hand planes and files were used. Having a centre point was essential for this to be fully effective. Marking out certain locations which are to be removed allows the manufacturer to clearly identify which parts are to be removed.

Image 80: (Turner, 2016)
Solution 3:
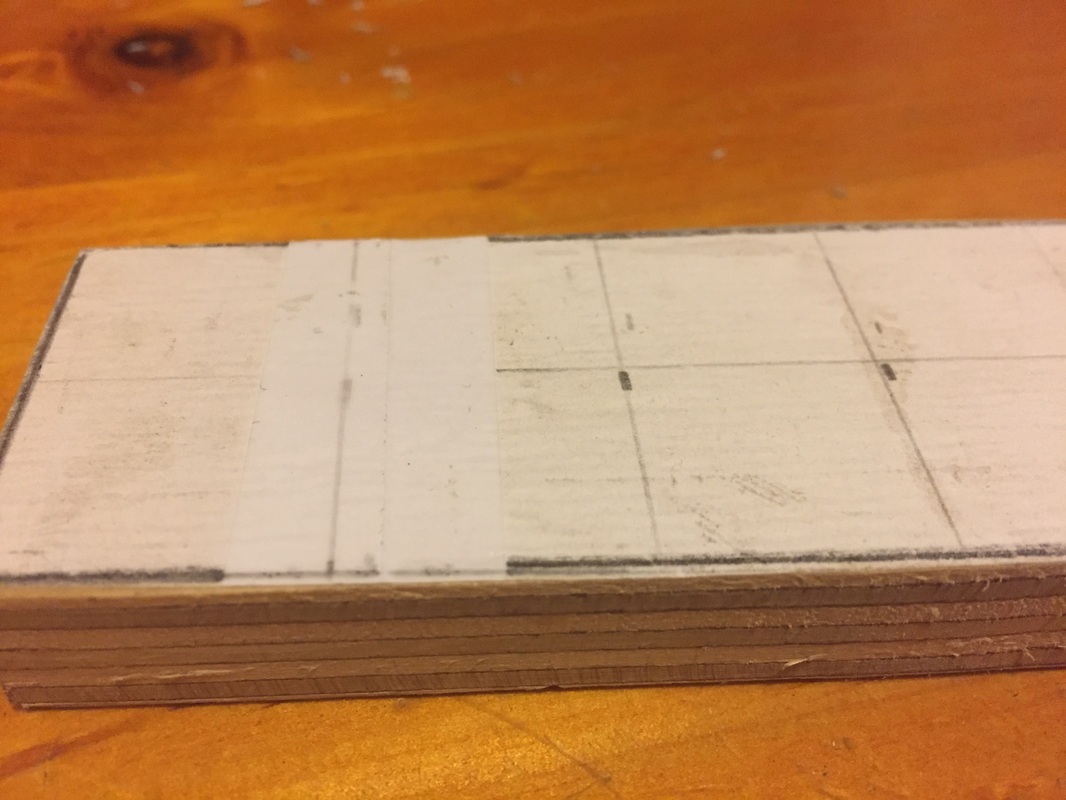
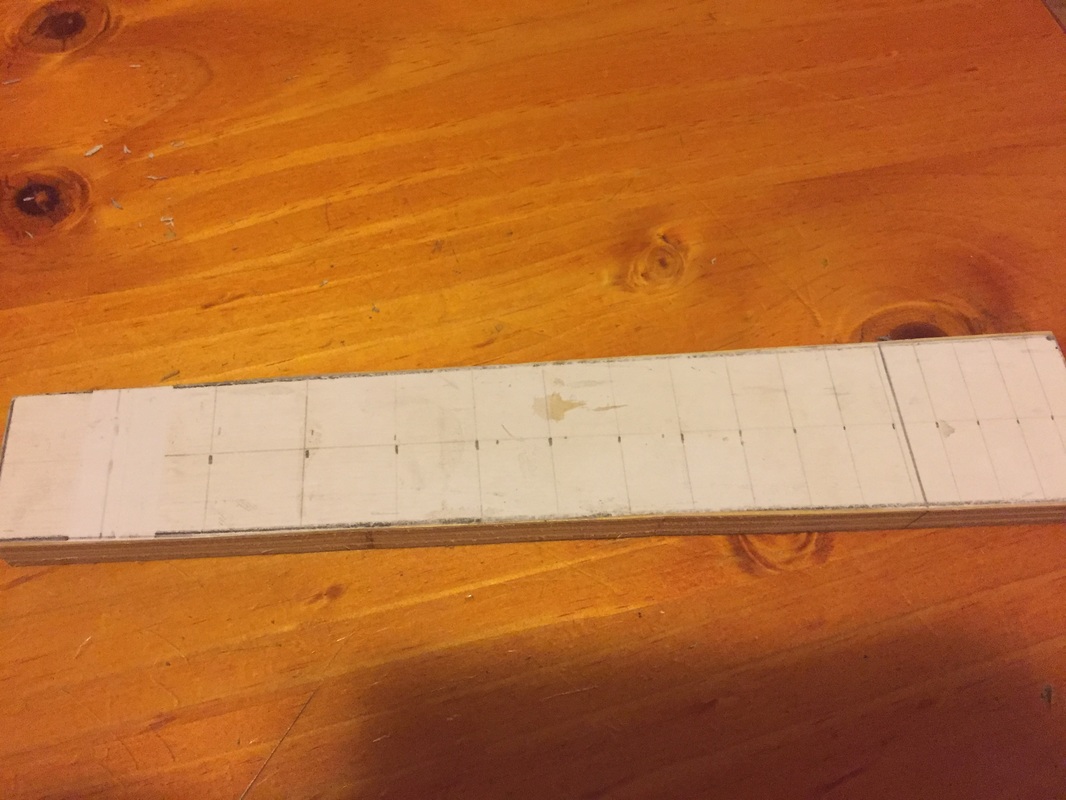
Once the neck was shaped, the fretboard needed to be created. To do this, a single piece of walnut was cut to the required length that would fit over the neck. But a fretboard has fret wire inserted into it, so before the fret wire could be inserted, knowing the exact location of each fret was an essential and highly important part of the construction process.
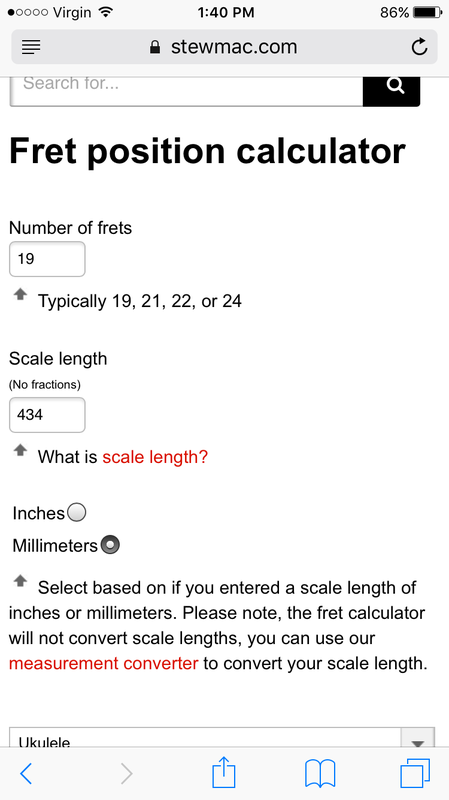
Research about fret location was completed, and then one was able to work out each frets position. To make sure all measurements were absolutely perfect, the use of an online fret calculator was used. If you wish to work out manually, divide the total length from the bridge to the nut by rule of 18, outlined in research.
Once the neck was shaped, the fretboard needed to be created. To do this, a single piece of walnut was cut to the required length that would fit over the neck. But a fretboard has fret wire inserted into it, so before the fret wire could be inserted, knowing the exact location of each fret was an essential and highly important part of the construction process.
Research about fret location was completed, and then one was able to work out each frets position. To make sure all measurements were absolutely perfect, the use of an online fret calculator was used. If you wish to work out manually, divide the total length from the bridge to the nut by rule of 18, outlined in research.

|

|
|
Image 81: (Turner, 2016)
The above images show the online fret calculators workings.
Solution 4:
Once the fret locations had been calculated, inserting the fret wire into these desired spots was the next process. Below shows the shape of a fret wire. But before one cuts and places the fret wire into the fretboard, knowing how the fret wire works was key.
Once the fret locations had been calculated, inserting the fret wire into these desired spots was the next process. Below shows the shape of a fret wire. But before one cuts and places the fret wire into the fretboard, knowing how the fret wire works was key.
Image 82: (Guitar Repair Bench, 2015)
The above image is a closer look at what the fret wire looks like. Notice that the stud has a small anchor attached to it. This is for when the fret wire gets pressed into the desired location it will pin itself into the slit and won't fall out . The bead is the part that stays above and is visible on the actual fretboard itself.
Extras
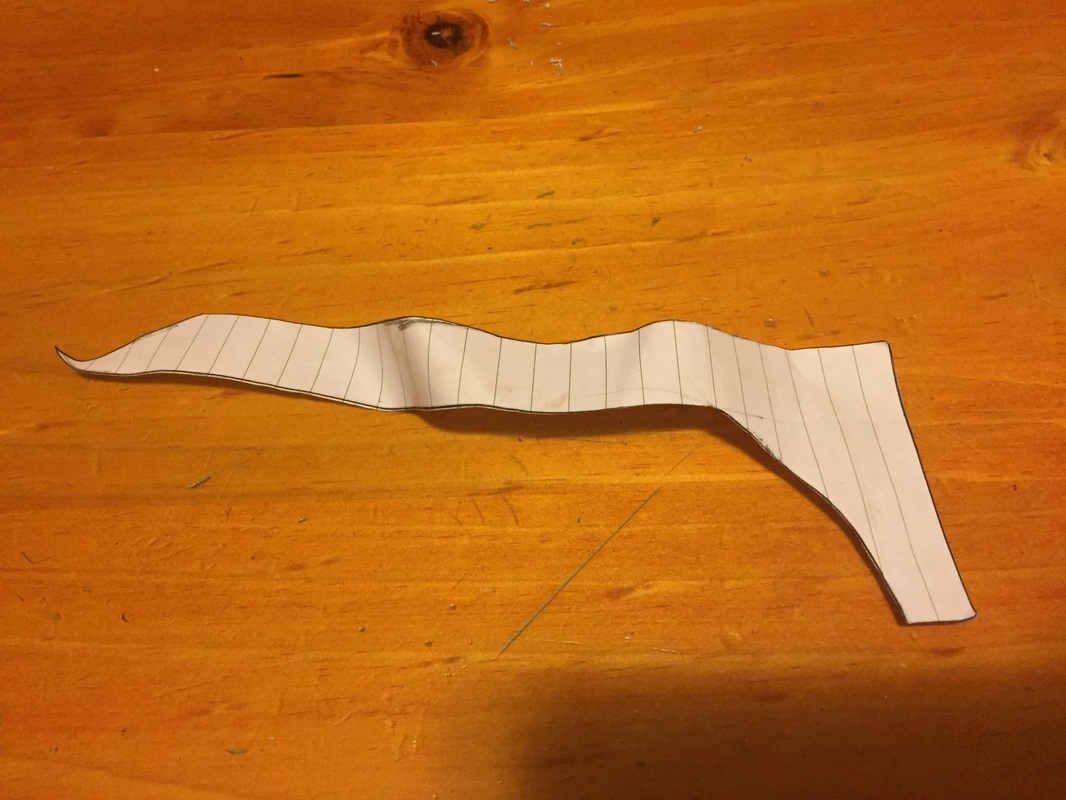
Images: Stencils used in neck construction
Neck Operation sheet
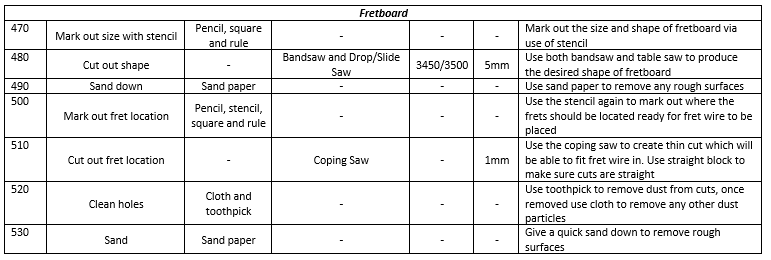

Figure 16: Neck Operation Sheet
Click below to see how the solutions for the body were completed
